Step 1: Login and add new post
To get started, make sure you’re logged into the Art School Portal with your RMIT credentials, then click + New and select Post.
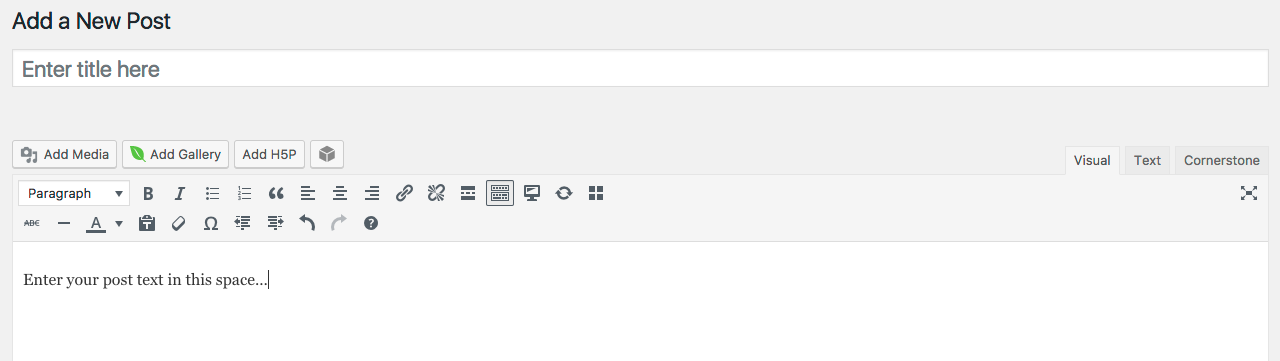
Step 2: Add the post content
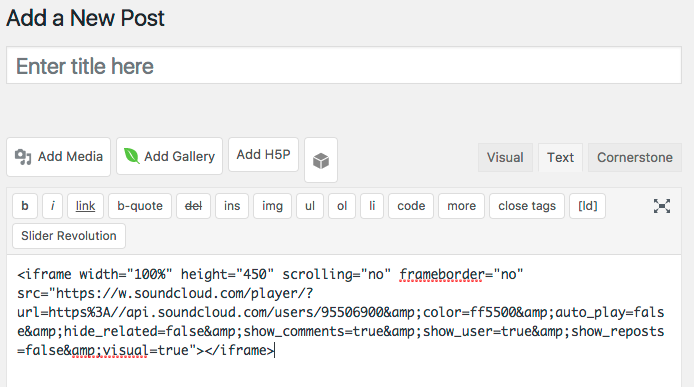
In the title field, enter a descriptive title for your post, then add text, images, audio or video to your post:
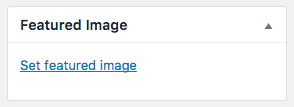
Step 3: Set the featured content
The featured content will display on the Home page grid, and can be an image, video or audio:
Like with images in the post content, you can add images from the Media Library, upload your own files, or insert files from a URL (see the instructions above).
You must ensure that all images you upload comply with the Copyright Statement below and are correctly cited with at least the artist, title and date. Include the citation in the text of your post.
Step 4: Categorise and tag your post
Categories control where your posts will appear within the Portal, and Tags allow you to identify relevant themes.
- On the right menu, select the relevant Categories for your post.
- In Tags, you can add your own or Choose from the most used tags.
Step 5: Publish or save your post
- To see how your post will appear, before you publish it, click Preview.
- When you’re ready to share your post to the Portal, click Publish.
- If you want to continue to edit it and publish at a later time, click Save Draft.
Updating published posts and drafts
To edit drafts and published posts:
- Login to the portal
- Select Art School Portal > Dashboard on the top menu,
- Selecting Posts on the left menu
- Click the post you want to edit or publish