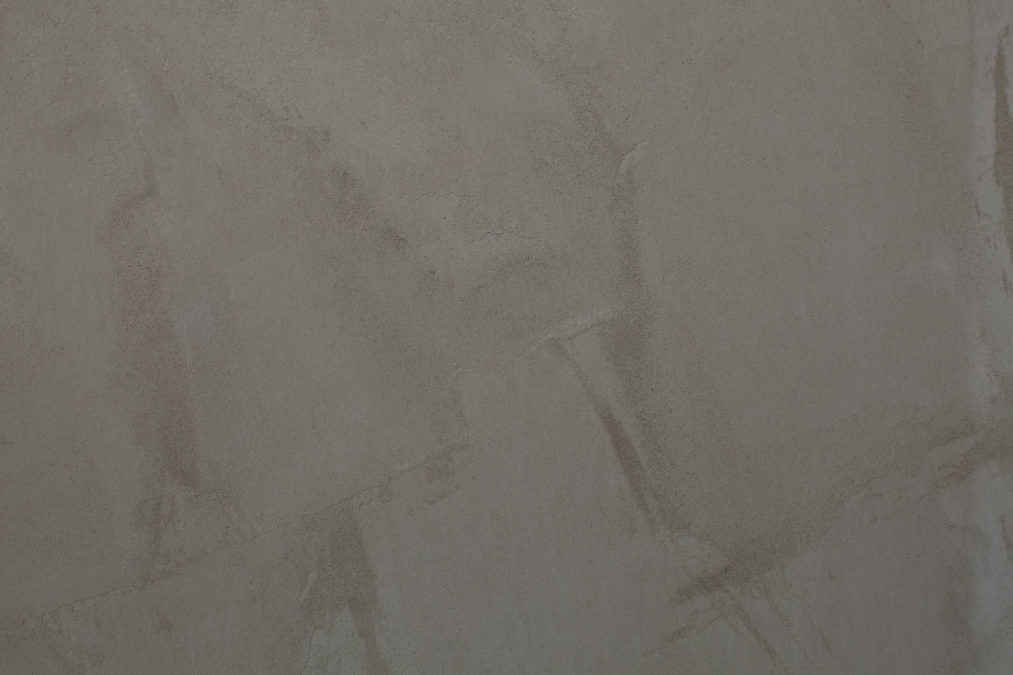
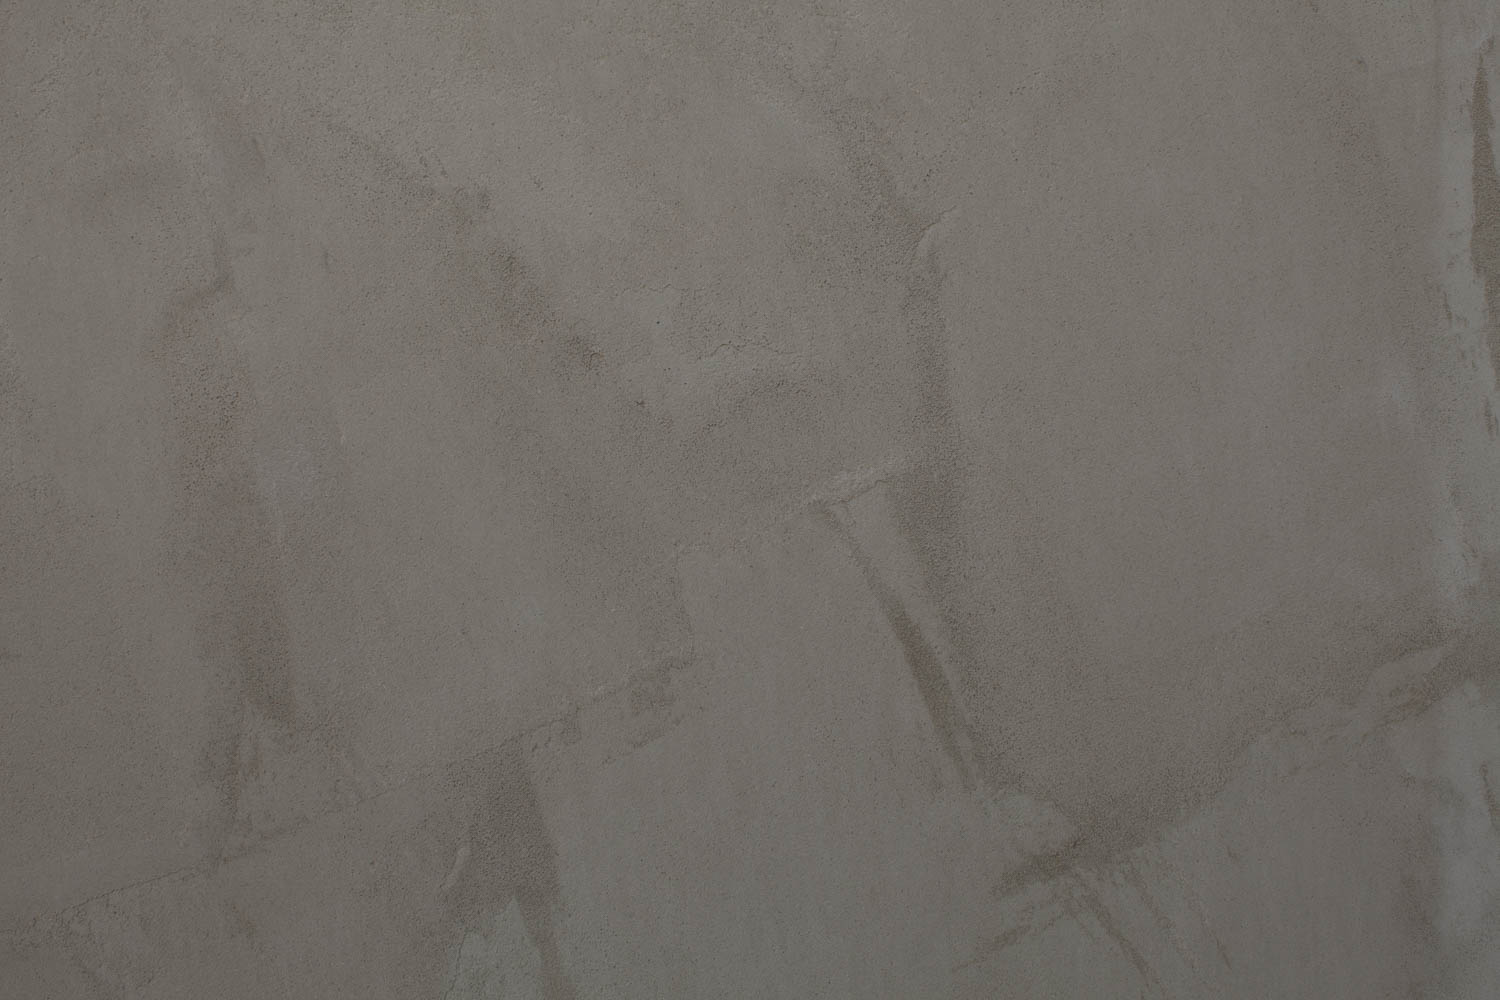
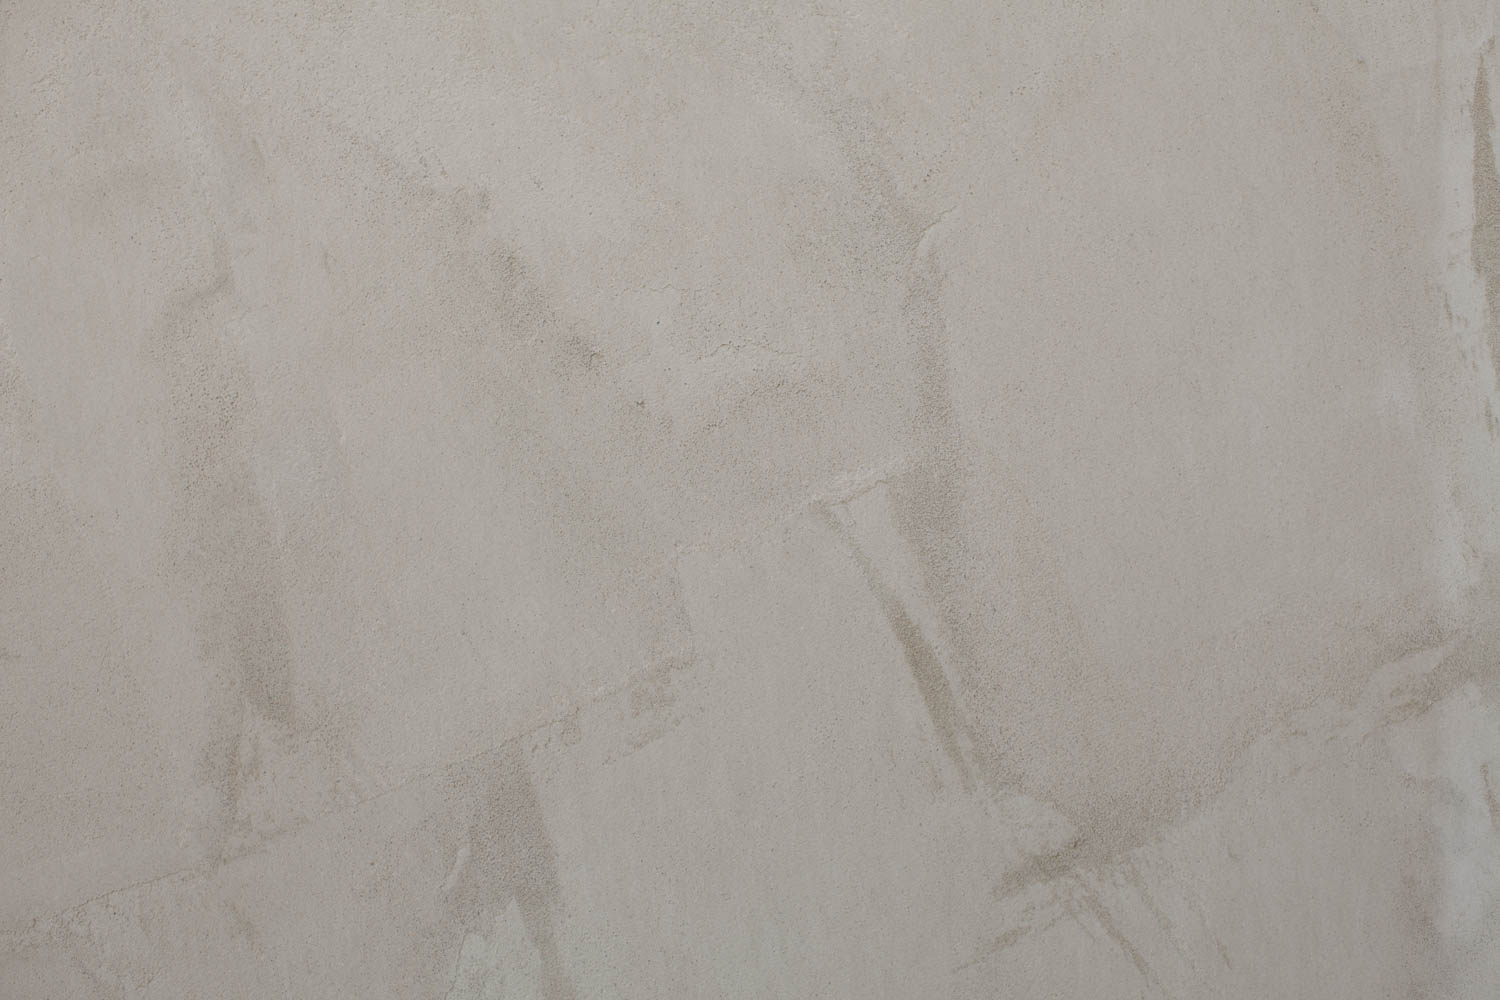
We measure a cameras dynamic range to help inform us about exposure, and the tonal range of our camera. This is not a complex task, however it will require an understanding of the principles of exposure. This is a good test to undertake if you would like to test your understanding of exposure.
Step 1: Choose the scene
Ideally, a flat, even surface, with texture, provides the best results. An example would be a brick wall, carpet or a rough, rendered house exterior wall. What is critical is that the light remains constant, so if you are using natural light, there can be no cloud cover or risk of the lighting changing. A brick wall, on a bright day with no clouds in the sky, in shadow would be the ideal condition.
Step 2: Setup your camera
You should use a camera that allows you to control the exposure. Do not bother using a camera phone, or entry level domestic point and shoot.
Your camera should be on a stable tripod with a focal length lens that allows the entire frame to be filled by the wall or similar. Make sure there are no light flares on the wall, and preferably use a lens hood.
Make sure you set the following parameters for your camera
- Raw
- Minimum ISO
- Auto White balance
- Full manual
Set your light meter to Average (Matrix) metering. Avoid using Spot or Centre Weighted metering.
Step 3: Understand the aperture / shutter speed range of your camera
In order for this test to be successful, you must sequentially capture a range of exposures, incrementally adjusting 1 full stop of exposure for each capture.
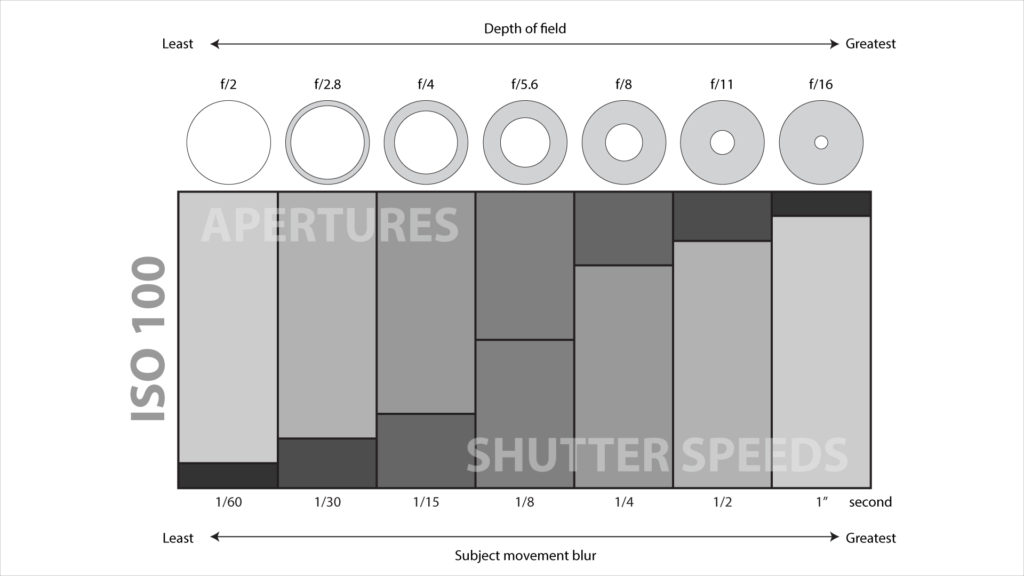
This means you need to know how to manually control these settings on your camera. This is not hard, you simply need to know what the parameters do. For example, if my light meter tells me the exposure is set at f/5.6 and 1/125 sec, then this becomes my middle grey reading. This means if I expose the wall with these settings, the result will be middle grey. If I then want to increase the exposure by 1 stop, I must change either the aperture (to let 1 stop more light into the camera) or the shutter speed (to let light into the camera for 1 stop more time).
Step 4: Exposure
The following chart is an example of how this exercise might work. Do not follow these numbers, as the lighting conditions for your capture will be different, they are provided only as a guide.
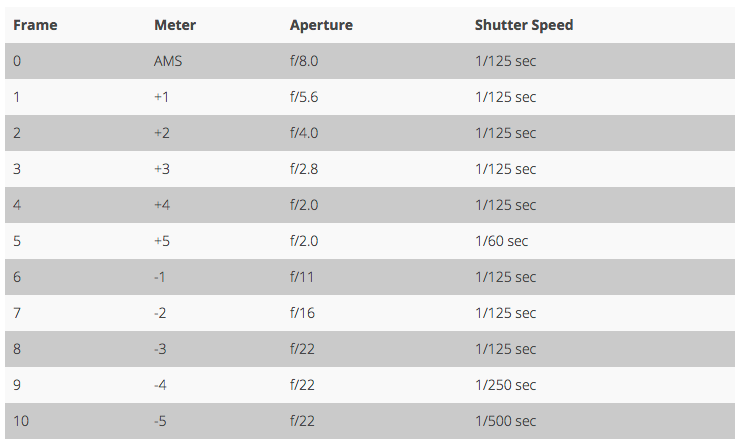
Note that by frame 4 the maximum aperture for that lens was being used, and in order to continue to let in more light the shutter speed needed to be decreased by 1 full stop. Similarly, in frame 8 the smallest aperture for the lens was being used, therefore the following captures required less light, so a faster shutter speed was used.
The following table shows the resulting captures
Step 5: Reading the data
Process each image in Camera Raw (either Photoshop or Lightroom), applying the same parameters to each image. Do not make visual judgements or change any of the exposure settings, simply convert.
Open each image in Photoshop. Make sure the Info Panel is visible (Window > Info) and ensure the reading is set to Actual Colour. Select the Eye Dropper Tool (i) and set the sample size to 31 by 31 Average. Run your mouse over a centre area of the wall and note the reading. The reading should be a sequence of RGB values, with all numbers being of similar value. Do this for each of the captures (11 in total).
When you do this, map each exposure to the Capture reference below. So the first capture, which should have been As the Meter Says, or AMS, becomes the middle reference.
Capture 1: -5
Capture 2: -4
Capture 3: -3
Capture 4: -2
Capture 5: -1
Capture 6: AMS
Capture 7: +1
Capture 8: +2
Capture 9: +3
Capture 10: +4
Capture 11: +5
Take these values and using the excel sheet, put the corresponding numbers into each cell to plot a graph of your exposure.
